Windows 11 is the latest operating system released by Microsoft, offering new features and a modern user interface. However, not everyone may be satisfied with the changes and may prefer to stick with the familiarity of Windows 10. If you find yourself in this situation, you’ll be glad to know that it is possible to downgrade from Windows 11 to Windows 10.
In this comprehensive guide, we’ll walk you through the steps to successfully perform the downgrade.
Considerations Before Downgrading
Before proceeding with the downgrade, it’s important to consider a few factors. If your PC came preinstalled with Windows 11, downgrading to Windows 10 may result in glitches and hardware incompatibilities.
If your PC was specifically designed to run Windows 11, it may be more challenging to successfully install Windows 10.
It’s crucial to back up your data before proceeding, as the downgrade process involves a clean install, which will erase all existing files and applications.
How to Downgrade from Windows 11 to Windows 10
Now below you will find all the steps to get back to Win 10 properly. Make sure to see all the steps to finish the downgrade work properly.
Backup Your Data
To ensure that your personal files and important data are not lost during the downgrade process, it’s essential to create a backup.
There are several options available for backing up your data, including using built-in Windows tools or third-party software. Here are some recommended steps to create a backup:
- Connect an external storage device, such as a USB drive or an external hard drive, to your Windows 11 PC.
- Open the File Explorer and navigate to the files and folders you want to back up.
- Select the files and folders, right-click, and choose “Copy” or use the keyboard shortcut Ctrl+C.
- Open the external storage device in the File Explorer, right-click, and choose “Paste” or use the keyboard shortcut Ctrl+V to copy the files to the external device.
- Wait for the copying process to complete, ensuring that all your important files are successfully backed up.
Obtaining a Windows 10 Recovery Image
To perform a clean install of Windows 10, you will need a Windows 10 recovery image specifically designed for your PC model. This recovery image contains all the necessary files and drivers to successfully install Windows 10.
Follow the steps below to check if a recovery image is available for your PC:
- Visit the manufacturer’s website of your PC.
- Find the support page or downloads section of the website.
- Search for your PC model or enter the serial number to find the appropriate drivers and software downloads.
- Look for a Windows 10 recovery image or installation media specific to your PC model.
- If available, download the recovery image to a location on your Windows 11 PC for later use.
If a recovery image is not available for your PC model, you will need to proceed with creating bootable Windows 10 installation media manually.
Creating Bootable Windows 10 Installation Media
To install Windows 10 on your Windows 11 PC, you will need to create bootable installation media using a USB flash drive. Now follow the steps below to create the bootable media:
- Insert a USB flash drive with a minimum capacity of 8GB into your Windows 11 PC.
- Browse the official Microsoft website and then download the “Media Creation Tool (Installation Media)”.
- Run the Media Creation Tool and follow the on-screen prompts to create the bootable Windows 10 installation media on your USB flash drive.
- Keep the USB flash drive connected to your PC for the next steps.
Performing a Clean Install of Windows 10
Now that you have your Windows 10 recovery image or bootable installation media ready, you can proceed with the clean installation of Windows 10.
Please note that this process will erase all data on your PC, so ensure that you have backed up your files before proceeding.
Now here are the steps that you need to follow to perform a clean install:
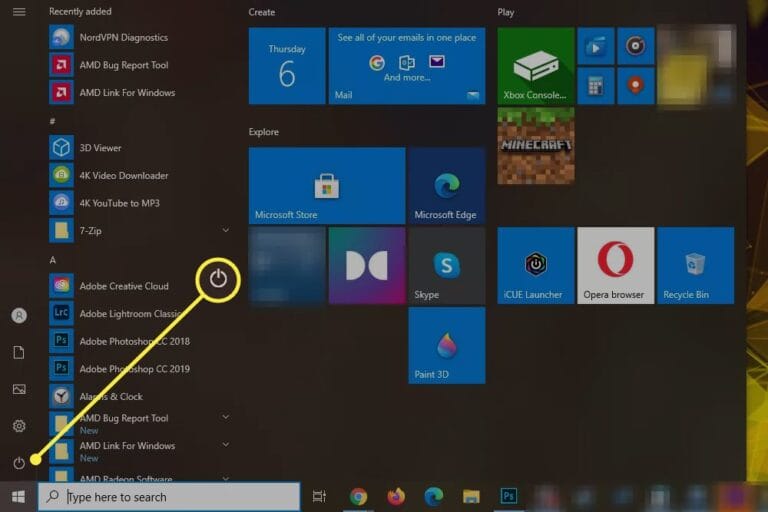
- Go to Settings on your Windows 11 PC by clicking on the Start menu and selecting the gear icon.
- In the Settings menu, navigate to the System section and click on Recovery.
- Under the Advanced Startup heading, click on Restart Now.
- Your PC will restart into the Windows 11 recovery menu. Choose the option to Use A Device.
- Now you have to select your USB drive from the list of available devices.
- When prompted to boot from the USB drive, tap the spacebar to start the Windows 10 Setup.
- Follow the instructions displayed on-screen to complete the Windows 10 installation process properly. When asked for a product key, choose the option “I Don’t Have a Product Key” to proceed.
- Select the edition of Windows 10 (Home or Pro) that you want to install, depending on your previous version of Windows 11.
Activating Windows 10
After the clean installation of Windows 10, you will need to activate your copy of the operating system. If your PC originally came with a Windows 11 license, you can use the same license to activate Windows 10.
Now follow these simple steps to activate Windows 10 on your computer:
- Go to Settings on your Windows 10 PC by clicking on the Start menu and selecting the gear icon.
- In the Settings menu, navigate to the Update & Security section and click on Activation.
- Click on the “Change product key” option and enter the product key for your Windows 11 license.
- Follow the prompts to complete the activation process. If your license is valid, Windows 10 will be activated successfully.
Installing Updates and Drivers
Once you have successfully installed and activated Windows 10, it’s important to install the latest updates and drivers to ensure optimal performance and compatibility. Here are the steps to install updates and drivers:
- Go to the Settings on your Windows 10 PC.
- Navigate to the Update & Security section and click on Windows Update.
- Click on the “Check for updates” button to search for available updates.
- Install any pending updates and restart your PC if necessary.
- Visit the manufacturer’s website of your PC to download and install the latest drivers for your specific model.
- Follow the instructions provided by the manufacturer to install the drivers correctly.
Restoring Data and Reinstalling Apps
After completing the installation of updates and drivers, you can restore your data and reinstall the applications you had on your Windows 11 PC.
Use the backup you created earlier to restore your personal files. Reinstall any applications you previously used by downloading them from their official websites or using installation media.
Common Issues and Troubleshooting
During the downgrade process, you may encounter certain issues or errors. Here are some common issues and troubleshooting steps:
- Hardware Incompatibilities: If you experience hardware compatibility issues after downgrading to Windows 10, visit the manufacturer’s website to check for updated drivers or contact their support for assistance.
- Activation Issues: If you encounter activation issues, ensure that you have entered the correct product key for your Windows 11 license. If the issue persists, contact Microsoft support for further assistance.
- Missing Drivers: If specific hardware components are not functioning correctly, download and install the latest drivers from the manufacturer’s website.
- Data Loss: If you forgot to back up your data before downgrading, consider using data recovery software to retrieve lost files. However, there is no guarantee of complete data recovery, so regular backups are always recommended.
Frequently Asked Questions
Here are some frequently asked questions about downgrading from Windows 11 to Windows 10:
- Can I downgrade from Windows 11 to Windows 10 on a PC that came preinstalled with Windows 11? Yes, it is possible to downgrade, but there may be compatibility issues. Consider the potential risks before proceeding.
- Do I need a product key to install Windows 10 after downgrading from Windows 11? No, you can select the option “I Don’t Have a Product Key” during the installation process.
- Will I lose my data during the downgrade process? Yes, the downgrade process involves a clean install, which erases all data on your PC. Be sure to back up your files before proceeding.
- Can I upgrade to Windows 11 again after downgrading to Windows 10? Yes, if you have a valid Windows 11 license, you can upgrade to Windows 11 again in the future.
- What should I do if I encounter issues or errors during the downgrade process? Refer to the troubleshooting section in this guide for common issues and solutions. If the issue persists, seek assistance from Microsoft support or the manufacturer of your PC.
Downgrading from Windows 11 to Windows 10 is possible but requires careful consideration and preparation. By following the steps outlined in this guide, you can successfully perform a clean installation of Windows 10 and restore your data and applications.
Remember to backup your data, obtain a Windows 10 recovery image or create bootable installation media, and ensure proper activation and installation of updates and drivers.