Are you ready to take your home theater experience to the next level? Looking for ways to optimize picture quality on your projector? Well, you’ve come to the right place!
In this article, we’ll be diving into some expert tips on home theater projector calibration to help you achieve the best possible image on your screen. So, get ready to sit back, relax, and let’s delve into the world of optimizing picture quality!
When it comes to creating a cinema-like experience in the comfort of your own home, the quality of the picture is paramount. Nobody wants a dull, washed-out image ruining their movie night, right?
That’s where projector calibration comes in. By making a few adjustments to your projector settings, you can enhance the colors, contrast, and overall image quality to make every movie truly immersive.
But how exactly do you calibrate a home theater projector? Don’t worry, it’s easier than you might think! From adjusting brightness and contrast to fine-tuning color temperature and sharpness, there are several key factors to consider.
In the following paragraphs, we’ll walk you through some simple yet effective calibration tips that will make a world of difference in your home theater setup. So, let’s get started and transform your movie nights into something truly extraordinary!
Optimizing Picture Quality
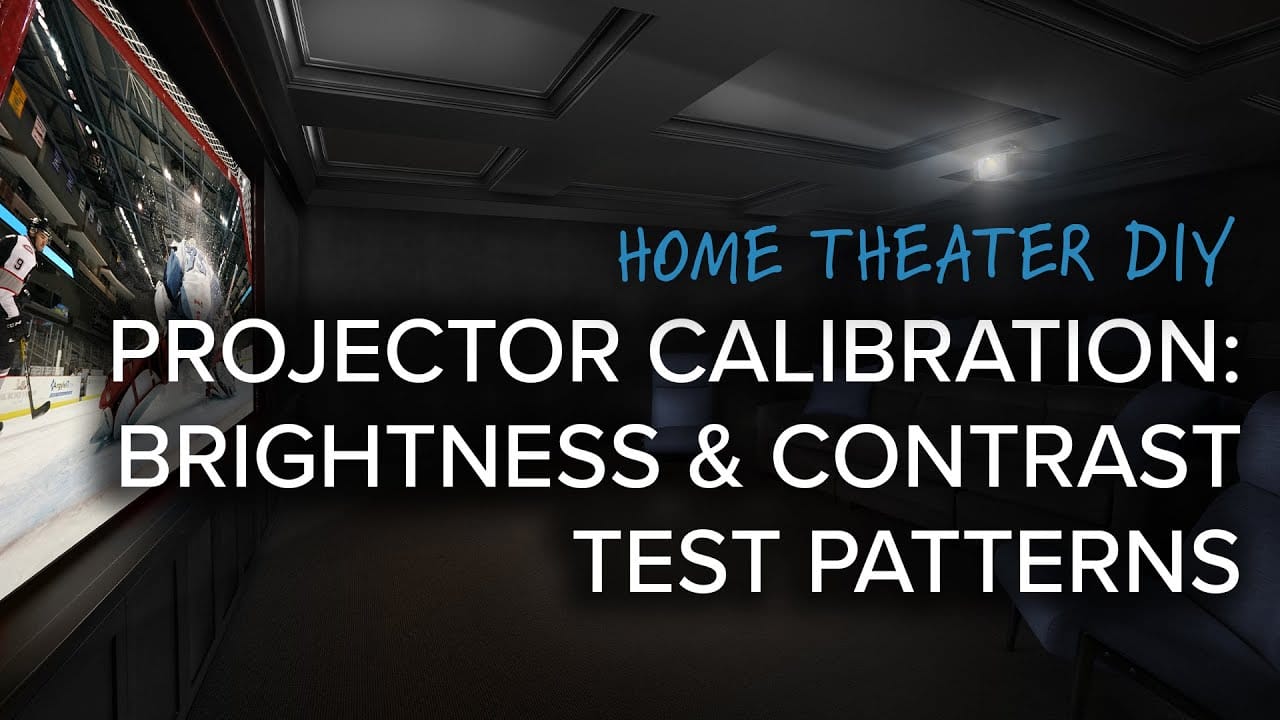
Looking to enhance the picture quality of your home theater projector? Here are some expert calibration tips for optimal results. Start by adjusting the brightness and contrast settings to achieve the right balance.
Then, fine-tune the color temperature and saturation levels to ensure accurate and vibrant colors. Don’t forget to adjust the sharpness and noise reduction settings for a clearer image.
Lastly, calibrate the gamma and white balance settings for better visibility in dark scenes. Take your home theater experience to the next level with these picture quality optimization tips!
What is Projector Calibration
Calibrating a home theater projector involves fine-tuning various settings to achieve accurate colors, contrast, brightness, and sharpness. It ensures that the projector is reproducing images and videos as intended by the content creators. Without calibration, the out-of-the-box settings may not deliver the optimal visual experience.
The process involves adjusting parameters such as color temperature, gamma, brightness, contrast, and sharpness. By calibrating your projector, you can achieve true-to-life colors, improved contrast ratio, better black levels, and enhanced overall picture quality. Let’s explore some key aspects of projector calibration in more detail.
Color accuracy is a crucial component of projector calibration. By adjusting the color temperature settings, you can ensure that the projector displays colors as accurately as possible. The color temperature is measured in Kelvin (K) and controls the overall warmth or coolness of the image.
Most projectors offer multiple preset modes, such as “Cinema,” “Sports,” or “Game,” but these presets may not always provide accurate colors. To achieve optimal color accuracy, it’s recommended to use the “Movie” or “Cinema” preset and adjust the color temperature manually using calibration tools.
In addition to color temperature, gamma settings play a significant role in projector calibration. Gamma refers to the relationship between the input signal and the display’s luminance output.
Different gamma settings can affect how bright or dark the image appears. Standard gamma settings typically range from 2.2 to 2.4, but the ideal gamma value may vary depending on the viewing environment and personal preference. It’s important to adjust the gamma settings to achieve optimal brightness and contrast without losing detail in dark or bright areas of the image.
Tools for Projector Calibration
While some projectors offer basic calibration options in their settings menu, achieving professional-level results often requires dedicated calibration tools. These tools can help you accurately measure and adjust various parameters of your projector. Here are some essential tools to consider:
1. Colorimeter: A colorimeter is a device that measures the color output of your projector by analyzing the light emitted from its screen. It provides accurate color readings, allowing you to adjust the color settings accordingly. Popular colorimeters include the X-Rite i1Display Pro and the Datacolor SpyderX.
2. Calibration Software: Calibration software, such as CalMAN or DisplayCAL, helps you interpret the measurements from your colorimeter and guide you through the calibration process. It provides step-by-step instructions and recommendations for adjusting various projector settings.
3. Test Patterns: Test patterns are essential for calibrating a projector. They consist of specific patterns and colors that allow you to adjust various settings accurately. You can find test patterns on calibration discs, Blu-ray movies, or downloadable files from calibration software.
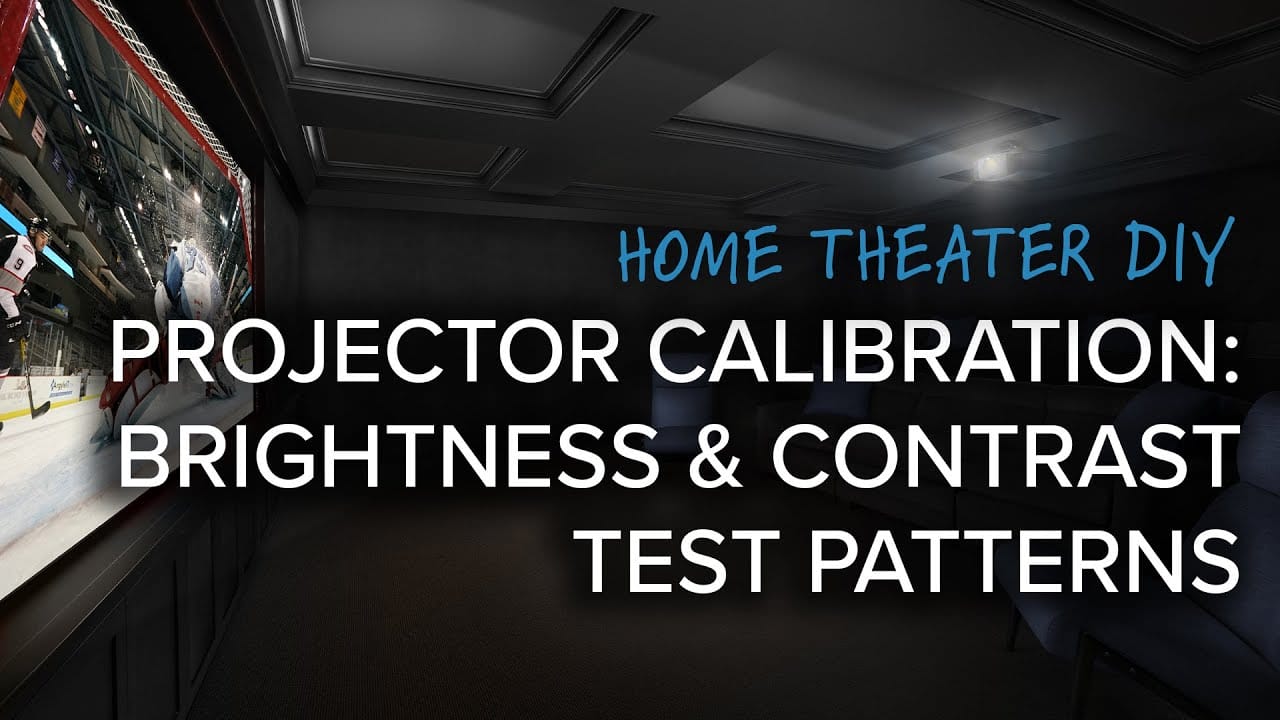
Brightness and Contrast Calibration
Proper calibration of brightness and contrast is crucial in achieving accurate picture quality. Adjusting these settings properly ensures that you have the right balance of black levels, white levels, and overall brightness. Here are some tips to follow when calibrating brightness and contrast:
1. Black Levels: Start by ensuring that your projector can produce deep blacks without losing shadow details. Use a black-level test pattern and gradually increase the brightness until you can see the darkest details clearly without crushing the blacks.
2. White Levels: Adjust the contrast setting to achieve optimal white levels without losing highlight details. Use a white-level test pattern and increase the contrast until the brightest areas appear bright and detailed, without any clipping or blooming.
3. Dynamic Contrast: Some projectors offer dynamic contrast settings, which automatically adjust the contrast based on the displayed content. While this feature can enhance the perceived contrast ratio, it may also introduce artifacts or inconsistencies. It’s recommended to disable dynamic contrast for accurate calibration.
Color Calibration and Gamut Adjustments
Color calibration involves fine-tuning the color accuracy and saturation of your projector. Here are some steps to follow when calibrating the color settings:
1. Color Temperature: Adjust the color temperature setting to achieve neutral whites, avoiding any noticeable color casts. Use a calibration disc with color temperature test patterns to guide you through the adjustment process.
2. Color Gamut: Most projectors offer different color gamut options, such as Rec. 709 or DCI-P3. Choose the appropriate color gamut based on your content and personal preference. Use a color gamut test pattern to ensure accurate reproduction of colors within the chosen gamut.
3. Color Management System (CMS): Advanced projectors often feature a Color Management System, allowing you to fine-tune individual color points. Use a color calibration disc or software to adjust the CMS settings, ensuring accurate and vibrant colors across the entire spectrum.
Advanced Calibration Techniques
For those seeking ultimate precision and professional-level results, advanced calibration techniques can further enhance picture quality. Here are some advanced techniques to consider:
1. Grayscale Calibration: Grayscale calibration involves achieving accurate shades of gray throughout the entire brightness range. By adjusting the RGB balance, you can eliminate any color tints or biases that may be present. A colorimeter and calibration software are essential for precise grayscale calibration.
2. Gamma Correction: Adjusting gamma settings is critical for achieving the right balance of brightness and contrast. Advanced calibration software can provide more control over gamma curves, allowing you to fine-tune the response of your projector for optimal performance.
3. Test Patterns and Measurement: Utilize a variety of test patterns to measure and fine-tune different aspects of your projector’s performance. This includes patterns for sharpness, overscan, geometry, and convergence. Incorporating measurements at various points in the calibration process can help identify and address specific issues more effectively.
Additional Tips for Optimal Picture Quality
Now that we’ve covered the essentials of projector calibration, here are some additional tips to enhance your overall viewing experience:
1. Ambient Lighting
Consider the ambient lighting conditions in your viewing environment. Ideally, a dedicated dark room with controlled lighting will provide the best cinematic experience. However, if you have some ambient light, consider investing in motorized blackout blinds or curtains to eliminate external light sources.
2. Screen Material
The choice of screen material can significantly impact the picture quality. White screens offer maximum brightness, while gray screens enhance contrast and black levels. Consider your specific needs and preferences when selecting a projector screen.
3. Image Source and Content
Ensure that your image source, such as a Blu-ray player or streaming device, is set to output the correct resolution and color space. Additionally, high-quality content, such as Blu-ray discs or 4K streaming services, will provide the best visual experience.
Optimizing picture quality in a home theater projector through proper calibration is essential for achieving the most immersive and cinematic visual experience. By understanding the key aspects of calibration, utilizing the right tools, and following best practices, you can unlock the full potential of your projector.
Remember to regularly recalibrate your projector as environmental conditions and content settings may change over time. So, gather your calibration tools, dive into the adjustments, and enjoy a stunning visual journey in your home theater.
Frequently Asked Questions
Welcome to our Frequently Asked Questions section about optimizing picture quality for your home theater projector. Whether you’re a cinephile or simply enjoy watching movies in the comfort of your own home, we’re here to help you enhance your viewing experience. Read on to find answers to common questions about projector calibration tips and tricks.
1. Why is projector calibration important for optimizing picture quality?
Projector calibration is crucial for optimizing picture quality because it ensures that the colors, contrast, and brightness are accurate and consistent. By calibrating your projector, you can achieve more lifelike images and accurately reproduce the intended colors and details of the content you’re watching.
It helps to eliminate issues such as color casts, washed-out colors, or over-saturated images, resulting in a more immersive and enjoyable viewing experience.
Calibration also ensures that your projector is performing optimally, extending its lifespan and preserving the quality of the image over time. Without proper calibration, you may not be getting the best possible picture quality, and certain scenes or details may appear distorted or less vibrant than intended.
2. What are some basic calibration settings to consider for a home theater projector?
When calibrating a home theater projector, there are a few basic settings to consider. Start by adjusting the brightness and contrast levels to achieve optimal black levels and avoid crushed or washed-out details.
Next, fine-tune the color temperature settings to match the desired viewing environment. You can choose between presets like “warm,” “cool,” or “neutral” to find the most natural tones. Additionally, adjusting the sharpness and noise reduction settings can help enhance the clarity and overall image quality.
For a more advanced calibration, you can invest in a calibration tool or hire a professional to precisely calibrate your projector based on the specific attributes of your viewing room. This can involve adjusting gamma curves, color profiles, and other settings to ensure accurate and consistent picture quality.
3. How can I achieve accurate colors on my home theater projector?
To achieve accurate colors on your home theater projector, start by selecting the correct picture mode. Many projectors offer preset modes like “cinema,” “game,” or “vivid.” Opt for a mode that is designed for accurate color reproduction, such as a cinema mode. Then, perform a color calibration using a reference image or a calibration disc.
During the calibration process, adjust the color controls to match the reference image or the correct color temperature. This will ensure that the colors you see on the screen closely resemble the actual colors. Keep in mind that ambient lighting can affect the perception of colors, so it’s best to calibrate your projector in a dimly lit or dark room.
4. What role does ambient lighting play in projector calibration?
Ambient lighting can significantly impact the picture quality of your home theater projector. Excessive ambient light can cause washed-out colors, reduced contrast, and overall diminished image quality. It is recommended to watch movies or TV shows in a dark or semi-dark room to minimize the impact of ambient light on the projection screen.
If you have ambient light sources in your room, such as windows or lamps, consider using blackout curtains or blinds to block out the light. You can also position the projector in a way that minimizes direct light hitting the screen. This will help you achieve better contrast, color accuracy, and overall picture quality.
5. How often should I recalibrate my home theater projector?
The frequency of projector recalibration can depend on various factors such as the usage, environmental conditions, and personal preference. As a general guideline, it is recommended to recalibrate your home theater projector every 6 to 12 months. This will help maintain consistent and accurate picture quality over time.
If you notice any significant changes in the picture quality, such as colors appearing faded or inaccurate, it is a good idea to recalibrate your projector sooner than the suggested timeline. Also, if you have made any changes to your viewing environment, such as adding new lighting fixtures or repositioning the projector, it is advisable to recalibrate to ensure optimal performance.
Getting the best picture quality for your home theater projector is important for a great viewing experience. Here are some easy tips to help you calibrate your projector for optimal picture quality.
First, adjust the brightness and contrast settings to ensure the image is neither too dim nor too bright. Next, fine-tune the color settings by adjusting the color temperature and saturation.
It’s also important to correctly set the aspect ratio to avoid stretched or cropped images. Finally, don’t forget to regularly clean the projector lens to prevent dust and debris from affecting image quality. By following these simple calibration tips, you can enjoy a fantastic picture in your home theater.

