To Install Bluestacks, Download the Setup file from the official website and double-click it to run the installation process. Bluestacks is a powerful Android emulator that allows you to run Android apps and games on your computer.
It provides the perfect platform for gamers, app developers, and anyone who wants to use Android apps on a larger screen. With Bluestacks, you can enjoy the full Android experience on your PC or Mac. We will guide you through the process of installing Bluestacks on your computer.
By following these simple steps, you will be up and running in no time. So let’s get started and install Bluestacks on your device.
System Requirements
Minimum system requirements for installing Bluestacks
If you’re looking to install Bluestacks on your computer, it’s important to ensure that your system meets the minimum requirements. These requirements will allow the emulator to run smoothly and without any issues. Here are the minimum system requirements for installing Bluestacks:
- Operating System: Windows 7 or later
- Processor: Intel or AMD Processor
- RAM: At least 2GB of RAM
- Storage: Minimum of 5GB free space on your hard drive
- Graphics: Intel HD Graphics or NVIDIA GeForce 8600/9600 GT
- Internet: A stable internet connection is required for downloading and installing Bluestacks
Ensuring that your computer meets these minimum requirements will ensure a smooth installation process and optimal performance when using Bluestacks.
Recommended system requirements for optimal performance
While the minimum system requirements are sufficient for installing Bluestacks, if you want to enjoy the emulator’s features and performance to the fullest, it’s recommended to have a system that meets the following specifications:
- Operating System: Windows 10
- Processor: Intel Core i5 or higher
- RAM: 8GB or more
- Storage: SSD with at least 20GB of free space
- Graphics: Intel Iris Pro Graphics 580 or NVIDIA GeForce GTX 660
- Internet: A stable and high-speed internet connection is highly recommended for seamless gameplay and app usage
By meeting these recommended system requirements, you’ll be able to enjoy a lag-free and immersive experience while running Android apps and games on your computer with Bluestacks. It’s important to note that these system requirements may vary based on the specific version of Bluestacks you’re installing. Always refer to the official Bluestacks website or documentation for the most accurate and up-to-date information about system requirements for your desired version.
What Is Bluestacks?
Bluestacks is a free Android emulator that allows users to run Android apps and games on their PCs or Macs. This powerful software creates a virtual environment on your computer, simulating the Android operating system, enabling you to enjoy the vast range of applications and games available on the Google Play Store.
Explanation of its purpose and functionality
The purpose of Bluestacks is to bridge the gap between mobile and desktop platforms. By installing and using Bluestacks, you can leverage the capabilities of your computer to run Android apps and games seamlessly. Bluestacks not only enhances your gaming experience but also enables you to use multiple apps simultaneously, making your workflow more efficient.
Bluestacks is designed to provide a user-friendly interface, allowing you to navigate through the virtual Android ecosystem effortlessly. Whether you want to play popular mobile games, use social media apps, or even run productivity tools, Bluestacks has got you covered.
The benefits of using Bluestacks
1. Accessibility: Bluestacks brings the Android experience to your desktop, eliminating the need for a physical Android device. This makes it easier and more convenient to use your favorite apps and games.
2. Enhanced Performance: Bluestacks utilize the power of your computer’s hardware, providing better graphics and smoother gameplay compared to mobile devices.
3. Multi-tasking: With Bluestacks, you can run multiple Android apps simultaneously, allowing you to switch between different apps seamlessly.
4. Customization: Bluestacks offers advanced settings and options, allowing you to customize the emulator according to your preferences. From resolution adjustments to key mapping, you have full control over your Android experience.
5. Compatibility: Bluestacks is compatible with both Windows and macOS, enabling a wide range of users to enjoy Android apps and games on their computers.
Installing Bluestacks
Bluestacks is a powerful Android emulator that allows you to run your favorite Android apps and games on your PC or Mac. It is the perfect solution for those who want to enjoy the Android experience on a larger screen. But before you can dive into the world of Android apps, you need to install Bluestacks on your computer. In this section, we will guide you through the step-by-step process of installing Bluestacks and troubleshoot any common installation issues that may arise. Let’s get started!
Step-by-step instructions on installing Bluestacks
- Download the Bluestacks installer. You can find the latest version of Bluestacks on the official website (https://www.bluestacks.com). Make sure to choose the correct version for your operating system (Windows or Mac).
- Once the download is complete, locate the installer file in your Downloads folder or wherever your browser saves downloaded files.
- Double-click on the installer file to start the installation process.
- A dialog box will appear asking for your permission to make changes to your computer. Click on “Yes” to proceed.
- The Bluestacks installation wizard will launch. Follow the on-screen instructions to proceed with the installation. You may need to choose the installation location and agree to the terms and conditions.
- Once the installation is complete, Bluestacks will launch automatically. You can now set up your Google account and start exploring the vast collection of Android apps available on Bluestacks.
Troubleshooting common installation issues
If you encounter any issues during the installation process, don’t worry. Here are some troubleshooting steps you can follow to resolve common installation issues:
Bluestacks installation freezes or takes too long
If the installation seems to be frozen or taking too long, try these steps:
- Close any other programs or applications running in the background that might be consuming system resources.
- Restart your computer and try reinstalling Bluestacks.
- Make sure you have a stable internet connection to download the required files.
Error message: “Cannot install Bluestacks on this machine”
If you receive this error message, follow these steps:
- Check if your computer meets the minimum system requirements for Bluestacks. Make sure you have enough disk space, RAM, and a compatible operating system.
- Disable any antivirus or firewall software temporarily and try reinstalling Bluestacks.
- If the issue persists, you can reach out to Bluestacks support for further assistance.
By following these step-by-step instructions and troubleshooting tips, you should be able to install Bluestacks on your computer without any hassle. Enjoy the world of Android apps and games on a bigger screen and take your mobile experience to the next level!
Setting Up Bluestacks
Welcome to the world of Bluestacks, the popular Android emulator that allows you to run your favorite mobile apps and games on your PC or Mac. Setting up Bluestacks is a simple process that will have you up and running in no time. In this guide, we will walk you through the steps to configure Bluestacks after installation and customize the settings to tailor your experience to your preferences.
Configuring Bluestacks after installation
Once you have successfully installed Bluestacks on your computer, it’s time to configure the emulator to ensure optimal performance and seamless usage. To get started, follow these steps:
- Launch Bluestacks by double-clicking the desktop shortcut or searching for Bluestacks in your Applications.
- On the home screen of Bluestacks, you will find a toolbar at the bottom that contains various icons and shortcuts.
- Click on the settings icon, which looks like a gear, to open the settings menu.
- In the settings menu, you will find several options to customize your Bluestacks experience. Take the time to explore the different tabs and understand the available options.
- Adjust the display and resolution settings to ensure the best visual experience. You can choose to run Bluestacks in full-screen mode or customize the window size as per your preference.
- Configure the input settings to optimize gameplay. Whether you prefer using a keyboard, mouse, or game controller, Bluestacks allows you to customize the controls to suit your playstyle.
- Under the preferences tab, you will find additional options to fine-tune the performance, notifications, and other aspects of Bluestacks. Feel free to experiment with these settings to enhance your overall experience.
Customizing settings for a personalized experience
Bluestacks offers a range of customization options that allow you to create a personalized experience tailored to your needs. Here are a few settings you may want to consider:
- Notification settings: In the settings menu, you can choose to enable or disable notifications for various apps. This allows you to control the flow of notifications and prevent interruptions during your Bluestacks sessions.
- Performance settings: Bluestacks provides options to allocate system resources, such as CPU cores and RAM, to enhance the emulator’s performance. Adjust these settings based on your computer’s specifications to ensure smooth gameplay and application performance.
- Language and location settings: Bluestacks supports multiple languages and allows you to select your preferred language for the user interface. Additionally, you can customize your location settings to access region-specific apps and content.
- Backup and restore: Protect your app data and settings by enabling the backup and restore feature. This allows you to easily transfer your Bluestacks setup to another device or restore your settings in case of any issues.
By taking the time to configure and customize Bluestacks, you can create a seamless and personalized Android experience on your PC or Mac. Whether you’re a gaming enthusiast or looking to utilize Android apps for productivity, Bluestacks has you covered. Explore the settings and make Bluestacks your own!
Downloading Bluestacks
Step-by-step guide to downloading Bluestacks
Downloading Bluestacks is a straightforward process that allows you to run Android applications on your computer. Whether you want to enjoy your favorite games or use mobile apps, Bluestacks provides a seamless Android experience on a larger screen. Follow this step-by-step guide to download and install Bluestacks:
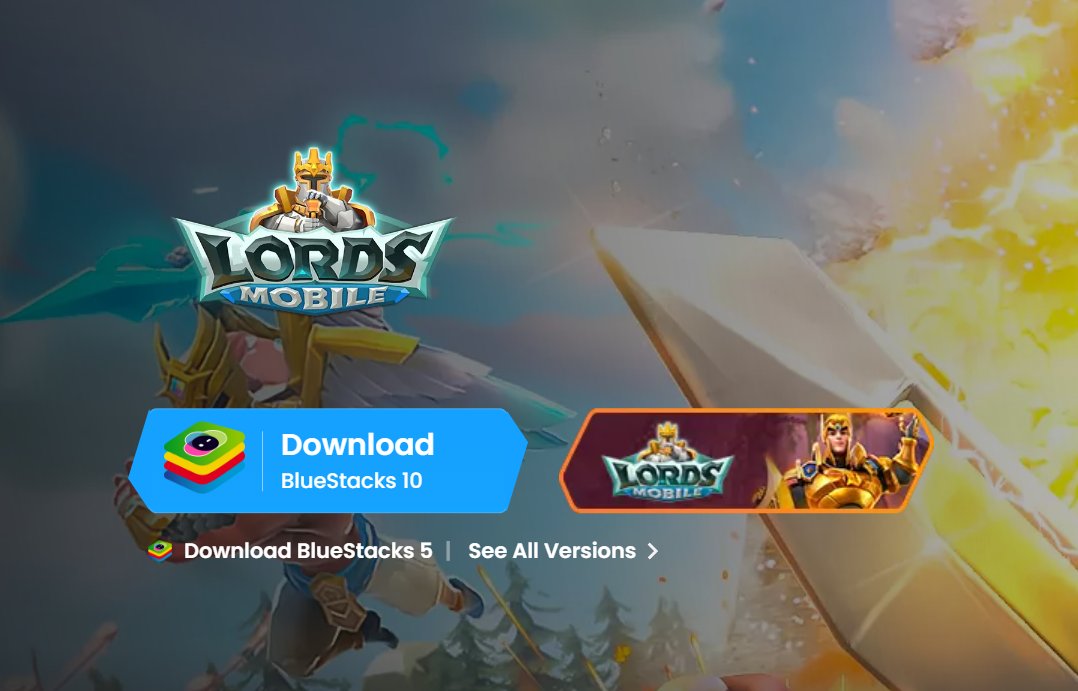
- Visit the official Bluestacks website. Bluestacks is compatible with both Windows and Mac operating systems.
- On the homepage, you will find the “Download Bluestacks” button. Click on it to start the download.
- The download will begin automatically, and the file size is approximately 500 MB. Please note that the download time may vary depending on your internet connection.
- Once the download is complete, locate the setup file in your Downloads folder or the specified location you chose for storing downloaded files.
- Double-click on the setup file to start the installation process.
- An installation wizard will guide you through the process. Follow the on-screen instructions to customize your installation preferences and agree to the terms and conditions.
- By default, Bluestacks will install in the C drive of your computer. If you wish to change the installation location, you can do so during the installation process.
- Once the installation is complete, you can launch Bluestacks by clicking on the desktop icon or searching for it in the Start menu.
- The first time you launch Bluestacks, you will be prompted to sign in with your Google account. This step is necessary to access the Google Play Store and download apps.
Tips for selecting the correct version for your operating system
Choosing the right version of Bluestacks for your operating system is crucial to ensure compatibility and a smooth experience. Here are some tips to help you select the correct version:
- Check your computer’s specifications to determine whether you have a Windows or Mac operating system.
- Visit the official Bluestacks website and navigate to the download page.
- You will find separate download buttons for Windows and Mac versions. Click on the appropriate button based on your operating system.
- Ensure that you download the latest version of Bluestacks as it may contain bug fixes and performance improvements.
- If you are unsure about your computer’s operating system, you can check it by following these steps:
| For Windows: |
|
| For Mac: |
|
Remember, selecting the correct version of Bluestacks is essential for a seamless Android experience on your computer. Take a moment to ensure compatibility, and you’ll be on your way to exploring a wide range of Android apps and games!
Troubleshooting
Common issues and their solutions when using Bluestacks
If you’re facing any issues while using Bluestacks, rest assured that there are simple solutions available to troubleshoot and resolve them. Here are some common problems you might encounter along with their solutions:
Common Issues and Solutions
Here are some common issues that users may encounter while using Bluestacks, along with their solutions:
| Issue | Solution |
|---|---|
| The app is not starting | 1. Make sure your system meets the minimum requirements for Bluestacks. 2. Restart your computer and try launching Bluestacks again. 3. Update your graphics card drivers. 4. Disable antivirus software temporarily. |
| Bluestacks running slow | 1. Close unnecessary background processes and applications. 2. Allocate more RAM to Bluestacks. 3. Update Bluestacks to the latest version. 4. Verify that your graphics card drivers are up to date. |
| Black screen/display issues | 1. Update your graphics card drivers. 2. Change the graphics mode to compatibility mode. 3. Disable overlays and game enhancements in the graphics card settings. |
Installing Apps On Bluestacks
Bluestacks is a popular Android emulator that allows you to run Android apps on your PC or Mac. Whether you want to play your favorite mobile games or use productivity apps on a larger screen, Bluestacks makes it easy. In this section, we will walk you through the process of searching, downloading, and installing apps on Bluestacks. Follow these simple steps to get started.
How to search, download, and install apps on Bluestacks
Searching for apps on Bluestacks is as simple as using the Google Play Store on your Android device. To get started:
- Launch Bluestacks on your PC or Mac.
- In the Bluestacks home screen, locate the search bar at the top-right corner.
- Type in the name of the app you want to install and hit Enter.
- Bluestacks will display relevant search results. Click on the app you want to install.
- On the app’s page, click the “Install” button.
- Bluestacks will start downloading and installing the app. The installation process may take a few minutes depending on your internet connection.
- Once the app is installed, you can find it on the Bluestacks home screen or in the “My Apps” section.
That’s it! You’ve successfully downloaded and installed an app on Bluestacks. Repeat these steps for any other apps you want to install.
Tips for managing and organizing your installed apps
With Bluestacks, you can easily manage and organize your installed apps for a better user experience. Here are some tips:
- Create folders: To keep your apps organized, you can create folders on the Bluestacks home screen. Simply drag and drop apps into a folder to categorize them.
- Uninstall unwanted apps: If you no longer need an app, you can uninstall it to free up space. Right-click on the app icon and select “Uninstall” from the context menu.
- Update apps: Like any Android device, apps on Bluestacks may require updates. To update an app, open the Google Play Store within Bluestacks and go to the “Updates” section. Click “Update” next to the app you want to update.
- Change app settings: Some apps might have specific settings that you can customize. Open the app on Bluestacks and look for the settings menu or options to make any desired changes.
By following these tips, you can efficiently manage and organize your installed apps on Bluestacks. Enjoy a clutter-free experience and make the most out of your favorite Android applications.
Navigating The Bluestacks Interface
When it comes to running Android apps on your PC, Bluestacks is one of the most popular and user-friendly options available. Its intuitive interface allows you to seamlessly navigate between apps and features, making it a breeze to use. In this section, we will take a guided tour of the Bluestacks user interface, exploring its various features and functionalities.
A guided tour of the Bluestacks user interface
Upon launching Bluestacks, you will be greeted with a clean and modern interface that resembles the layout of a typical Android device. The main window is divided into several sections, each serving a specific purpose to enhance your app experience.
Exploring the various features and functionalities
Bluestacks offers a multitude of features and functionalities designed to provide you with a seamless Android app experience on your PC. Let’s dive deeper into some of these features:
1. App Library:
The App Library is where you can find all the apps installed on your Bluestacks emulator. It is organized in a grid-like layout, similar to the app drawer on an Android device. You can easily search for specific apps, categorize them, and rearrange their positions for easy access.
2. Home Screen:
The Home Screen of Bluestacks is the central hub of your emulator. It displays a collection of recommended apps, allowing you to discover new and popular apps to enhance your gaming or productivity experience. You can customize the Home Screen by adding and removing app shortcuts according to your preference.
3. Toolbars:
Bluestacks features two toolbars located at the top and bottom of the interface. The top toolbar provides quick access to essential controls such as search, app settings, and app synchronization. The bottom toolbar, on the other hand, houses navigation buttons, including back, home, and recent apps, making it effortless to navigate between apps and screens.
4. Settings:
The Settings menu in Bluestacks allows you to fine-tune your emulator’s performance and preferences. From here, you can manage your account, adjust app settings, allocate resources to optimize performance, and more. It offers a wide range of customization options, ensuring that Bluestacks caters to your specific needs.
With its user-friendly design and plethora of features, navigating the Bluestacks interface is a breeze. Whether you’re an avid gamer, a social media enthusiast, or someone seeking productivity on a larger screen, Bluestacks provides a seamless Android app experience on your PC.
Frequently Asked Questions On Install Bluestacks
Can I Install Bluestacks On My Macbook?
Yes, Bluestacks is compatible with Macbooks. You can easily install Bluestacks on your Macbook and enjoy using Android apps on your desktop or laptop.
Is Bluestacks Safe For My Computer?
Yes, Bluestacks is safe for your computer. It is a trusted software that has been used by millions of users worldwide without any security issues. However, it is always recommended to download software from official sources to ensure safety.
Can I Play High-Demanding Mobile Games On Bluestacks?
Yes, you can play high-demand mobile games on Bluestacks. It is designed to handle resource-intensive applications and games, allowing you to enjoy a smooth gaming experience on your PC. However, the performance may vary depending on your computer’s hardware specifications.
Conclusion: Bluestacks is a powerful and user-friendly software that allows you to run Android apps on your computer. With its easy installation process and seamless performance, it becomes the perfect choice for those who want to enjoy their favorite mobile apps on a larger screen.
By following the steps mentioned in this blog post, you can easily install Bluestacks and explore a whole new world of Android apps on your PC. So, what are you waiting for? Start experiencing the best of both worlds today!