Looking to change a 2-pin fluorescent light bulb? You’ve come to the right place!
Swapping out a light bulb may seem like a daunting task, but don’t worry, it’s easier than you think.
In this guide, I’ll walk you through the simple steps to change your 2-pin fluorescent light bulb. Let’s get started!
Remember, safety first, always make sure the power is turned off before attempting any electrical work.
How to Change 2 Pin Fluorescent Light Bulb?
Here is a simple steps you need to do if you want to change 2 pin fluorescent light bulb,
- Turn off the power to the light fixture.
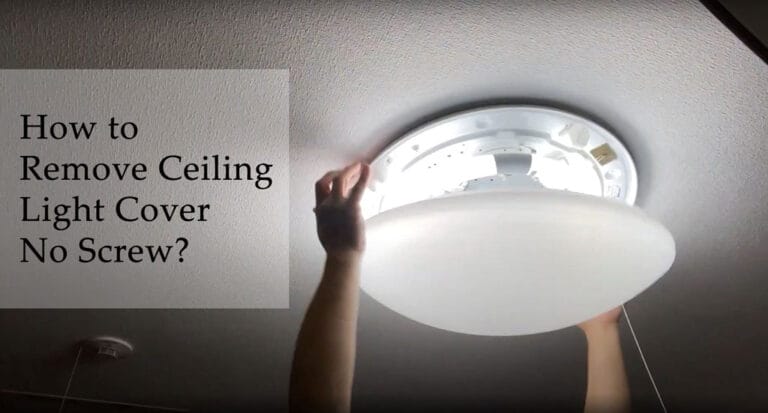
- Locate the bulb and remove any covering or diffuser.
- Gently twist the bulb counterclockwise to unscrew it.
- Dispose of the old bulb properly.
- Insert the new bulb and twist it clockwise to secure it.
- Replace the covering or diffuser.
- Turn on the power and test the new bulb.
1) Gather the necessary tools and materials
To change a 2 pin fluorescent light bulb, you will need a few tools and materials. Firstly, make sure you have a replacement bulb of the correct wattage and pin type. You will also need gloves to protect your hands and a step ladder or a stable surface to reach the light fixture.
Additionally, it’s always a good idea to have a clean cloth or paper towel nearby to handle the bulb without touching the glass directly.
Tools and materials needed:
- Replacement 2 pin fluorescent light bulb
- Gloves
- Step ladder or stable surface
- Clean cloth or paper towel
2) Ensure the power is turned off
Before you start changing the bulb, it’s crucial to turn off the power to the light fixture. Locate the light switch or circuit breaker that controls the specific area where the fixture is located, and switch it off.
This will prevent any risk of electric shock while handling the bulb and ensure your safety throughout the process.
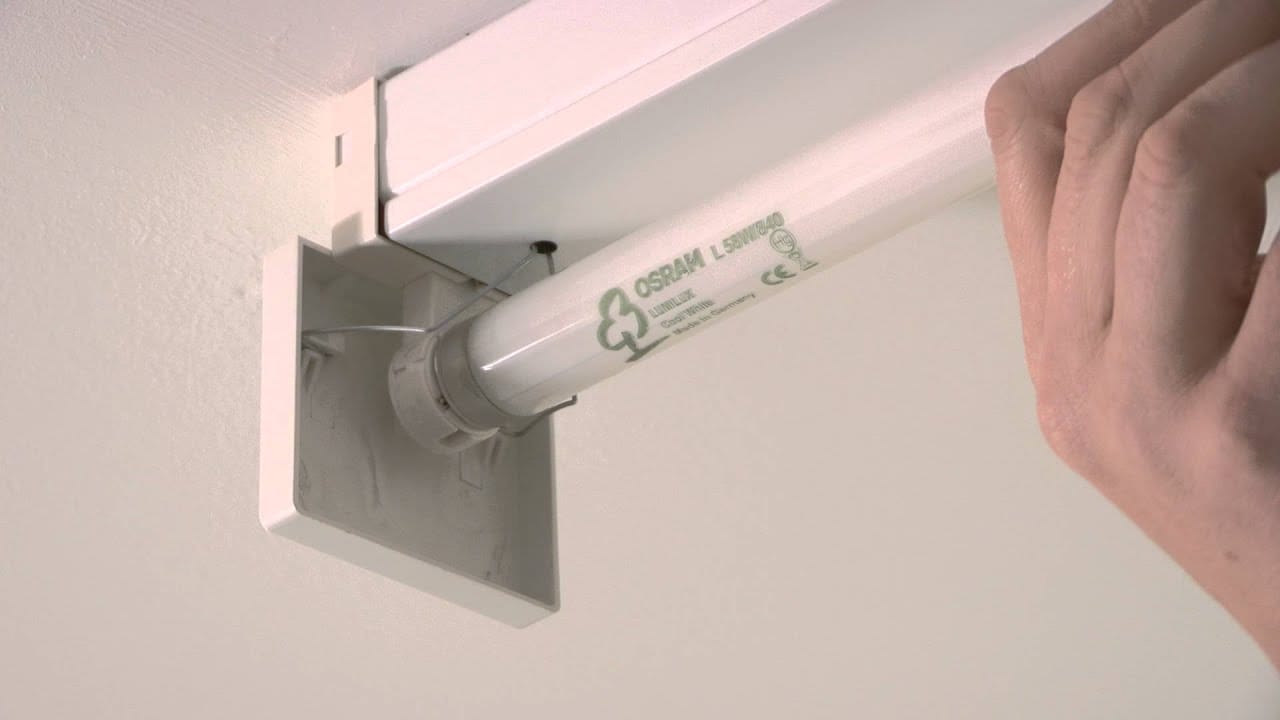
3) Remove the old bulb
Once you’ve turned off the power, it’s time to remove the old bulb. Start by carefully examining the fixture to locate the retaining clips or pins that secure the bulb in place. Depending on the type of fixture, you may need to gently press or twist the clips to release them.
Be cautious when handling the bulb as it may still be hot from recent use. Once the clips are disengaged, carefully pull the bulb straight out, avoiding any excessive force or twisting motions.
Tips for removing the old bulb:
- Allow the bulb to cool down if it was recently in use.
- Handle the bulb delicately to avoid breakage.
- Follow the specific instructions for your particular fixture.
4) Install the new bulb
With the old bulb safely removed, it’s time to install the new one. Start by inspecting the new bulb to ensure it’s clean and free of any defects. Using a clean cloth or paper towel, grab the bulb by its base or the designated handling area, making sure not to touch the glass directly.
Align the pins on the new bulb with the slots or connectors in the fixture, and gently push it in until it is securely in place.
Tips for installing the new bulb:
- Use a clean cloth or paper towel to handle the bulb and avoid leaving fingerprints or oils on the glass.
- Make sure the pins are properly aligned and inserted into the fixture to ensure a secure connection.
- Avoid applying excessive pressure when inserting the bulb to prevent damage.
5) Test the new bulb
After the new bulb is installed, it’s important to test it to ensure it’s functioning properly. Turn the power back on and flip the light switch to the “on” position. If the bulb lights up, congratulations! You have successfully changed the 2 pin fluorescent light bulb.
However, if it doesn’t light up, double-check the connections and make sure the power is properly restored. If the issue persists, you may need to troubleshoot further or consult a professional for assistance.
Troubleshooting tips:
- Check that the power is turned on and properly restored.
- Ensure the bulb is securely inserted into the fixture.
- If the bulb still doesn’t work, try replacing it with another new bulb to rule out any defects.
How to Dispose of a Used Fluorescent Light Bulb:
When it comes time to dispose of a used fluorescent light bulb, it’s important to handle it properly. Due to the small amounts of mercury contained within the bulb, it should not be thrown in the regular trash. Instead, take it to a recycling center or a designated electronic waste collection site.
Many hardware stores and home improvement retailers also offer recycling services for used bulbs. This ensures that the potentially harmful materials are disposed of safely and responsibly, minimizing environmental impact.
Choosing the Right Replacement Bulb:
When selecting a replacement bulb for your 2 pin fluorescent fixture, it’s essential to choose one that matches the wattage and pin type of the original bulb. Refer to the manufacturer’s guidelines or consult a professional if you’re unsure about the specifications.
Additionally, consider factors such as color temperature and brightness to ensure the new bulb provides the desired lighting effect for your space.
Tips to Extend the Lifespan of Fluorescent Light Bulbs:
While fluorescent light bulbs are known for their long lifespan, there are steps you can take to extend their usability even further. Here are a few tips to help prolong the life of your fluorescent bulbs:
1. Avoid frequent on/off cycles: Fluorescent bulbs have a limited number of on/off cycles before their lifespan is reduced, so try to minimize unnecessarily turning the lights on and off.
2. Use electronic ballasts: Electronic ballasts are more energy-efficient and produce less heat, which can help extend the life of the bulb.
3. Keep the bulbs clean: Dust and debris can accumulate on the surface of the bulb, reducing its light output. Regularly clean the bulbs with a soft cloth or a bulb cleaning solution.
4. Provide adequate airflow: Ensure that there is proper ventilation around your fixtures to prevent overheating. This can help prolong the life of the bulbs and prevent premature failure.
By following these tips and guidelines, you can easily and safely change a 2 pin fluorescent light bulb, ensuring the continued illumination of your space while maximizing the lifespan of your bulbs.
Remember to always prioritize safety by turning off the power before beginning any maintenance, and dispose of used bulbs responsibly to protect the environment.
Frequently Asked Questions
Changing a 2 pin fluorescent light bulb can be a simple task once you know how. Here are some common questions and answers to help you through the process.
1. How do I safely remove a 2 pin fluorescent light bulb?
To safely remove a 2 pin fluorescent light bulb, start by turning off the power to the fixture. This can be done by flipping the switch off or turning off the circuit breaker that controls the fixture. Once the power is off, carefully twist and release the bulb from the socket.
Some bulbs may require a slight push up before twisting to release. Be sure to handle the bulb gently to avoid breakage.
It’s also a good idea to wear gloves or use a cloth to handle the bulb to avoid any oils from your skin transferring onto the bulb. Dispose of the old bulb properly, following local regulations for recycling or hazardous waste disposal.
2. Can I replace a 2 pin fluorescent light bulb with an LED bulb?
Yes, you can replace a 2 pin fluorescent light bulb with an LED bulb. However, it’s important to ensure that the LED bulb you choose is compatible with the fixture.
Some fixtures may require a specific type of LED bulb, so it’s best to check the manufacturer’s guidelines or consult an electrician if you’re unsure.
LED bulbs are a popular choice for their energy efficiency and longer lifespan. They also emit less heat, making them a safer option. When replacing the bulb, follow the same steps as you would for a fluorescent bulb, making sure to handle the LED bulb carefully to avoid any damage.
3. What do I do if the 2 pin fluorescent light bulb is stuck?
If the 2 pin fluorescent light bulb is stuck and won’t twist out of the socket, there are a few things you can try. First, ensure that the power is off to the fixture. Then, using a clean, dry cloth, grip the bulb firmly and try twisting it gently, but with enough force to loosen it.
If it still won’t budge, you can try using a pair of rubber gloves for a better grip. Be careful when applying pressure, as excessive force can break the bulb or damage the socket.
If all else fails, it may be best to call a professional electrician who can safely remove the stuck bulb without causing any further damage to the fixture.
4. How often should I change a 2 pin fluorescent light bulb?
The lifespan of a 2 pin fluorescent light bulb can vary depending on factors such as usage and quality. On average, these bulbs can last anywhere from 8,000 to 20,000 hours.
To determine when to change the bulb, consider the brightness level and quality of light. If the light output starts to dim significantly or the color temperature shifts, it may be time to replace the bulb.
It’s also important to note that fluorescent bulbs may take some time to reach full brightness when initially turned on. If you notice a long warm-up period or flickering, it could be an indication that the bulb needs to be replaced.
5. Can I replace a 2 pin fluorescent light bulb myself or should I hire a professional?
While changing a 2 pin fluorescent light bulb can usually be done without professional help, there are certain situations where it may be best to hire a professional. If you’re unsure about working with electricity, it’s always safer to call an electrician.
Additionally, if you encounter any difficulties while changing the bulb, such as a stuck or broken socket, it’s best to contact a professional to avoid any further damage. Remember to prioritize your safety and seek professional assistance if needed.
Changing a 2 pin fluorescent light bulb is easy! First, turn off the power and let the bulb cool. Then, twist the bulb gently and carefully out of the socket. Finally, insert the new bulb and twist it to secure it in place. Remember to recycle the old bulb properly!
In summary, changing a 2 pin fluorescent light bulb is a simple process. Just turn off the power, unscrew the old bulb, and replace it with a new one. Don’t forget to be careful and recycle the old bulb!