Do you own an electric drill and wonder how to replace the carbon brushes? Well, you’ve come to the right place! In this guide, we’ll show you step-by-step how to replace the carbon brushes in an electric drill. It’s easier than you might think!
If you’re unfamiliar with carbon brushes, don’t worry—these little components play a crucial role in transferring electricity to the motor of your drill. Over time, they can wear out and affect the drill’s performance. But fear not! With our simple instructions, you’ll be back to drilling in no time. So, let’s get started and learn how to replace those carbon brushes!
How to Replace the Carbon Brushes in an Electric Drill?
Follow these simple steps to get your drill back in working order:
- Unplug the drill and remove any batteries or power sources.
- Locate the brush caps on the sides of the drill and unscrew them.
- Gently remove the old carbon brushes and replace them with new ones.
- Screw the brush caps back on securely.
- Reconnect the drill to a power source and test it out.
Now, you’re ready to tackle your next project with a fully functional electric drill!
Step 1: Gather the necessary tools
Before you begin, make sure you have all the required tools and materials. You will need a screwdriver (usually a Phillips or flathead, depending on the drill model), a new set of carbon brushes specifically designed for your drill model, and any additional items mentioned in the drill’s user manual.
It’s essential to use the correct size and type of carbon brushes for your drill to ensure proper functioning. Refer to the user manual or the manufacturer’s website to find the exact carbon brushes suitable for your drill model.
Once you have gathered all the necessary tools and materials, ensure that your drill is turned off and unplugged before proceeding.
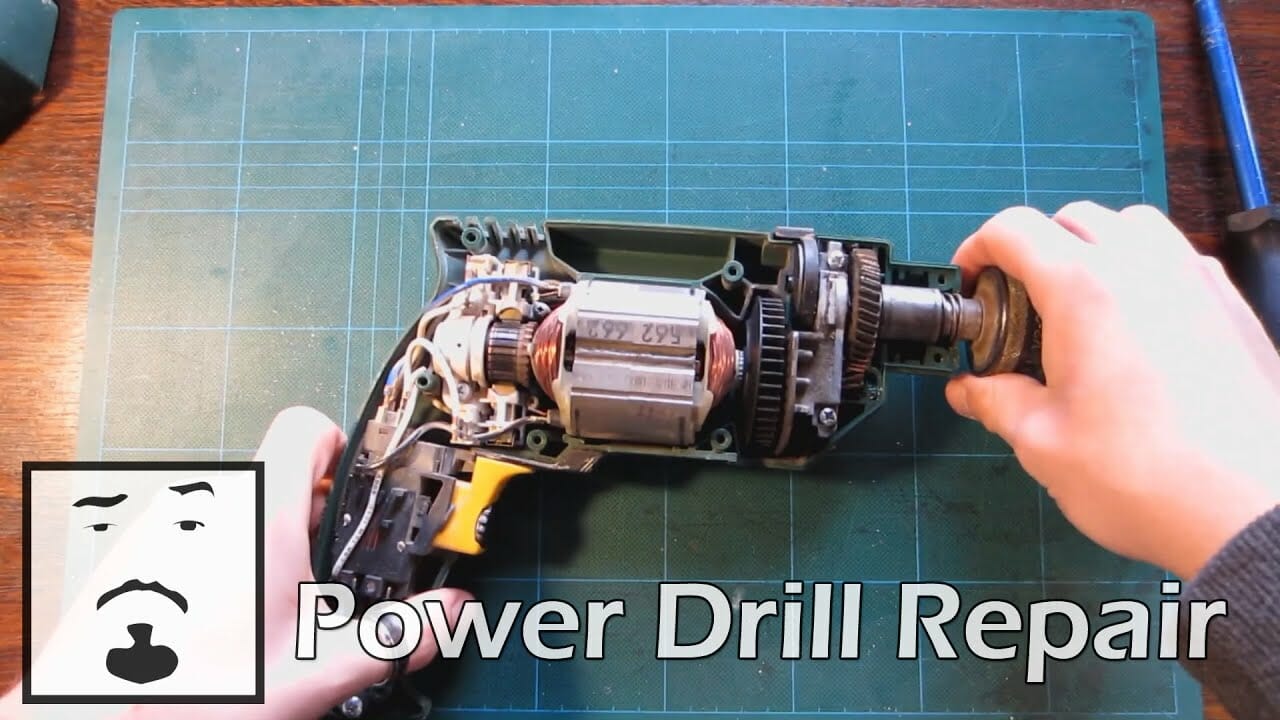
Step 2: Locate the brush holders
Next, you need to locate the brush holders in your electric drill. The brush holders are typically located on opposite sides of the motor. They are small compartments that house the carbon brushes.
To access the brush holders, you may need to remove a cover plate or a side panel of the drill. Consult the user manual or the manufacturer’s website for specific instructions on how to access the brush holders for your particular drill model.
Once you have located the brush holders, take a moment to inspect the condition of the old carbon brushes. Look for any signs of excessive wear, damage, or breakage. If the brushes appear worn out or damaged, it’s time to replace them.
Step 3: Remove the old carbon brushes
To remove the old carbon brushes, gently pull them out of their compartments in the brush holders. The brushes should slide out easily with minimal force. However, if the brushes are stuck or difficult to remove, you may need to use a pair of tweezers or needle-nose pliers to carefully extract them. Take care not to damage or bend any other components while removing the brushes.
Once the old brushes are removed, compare them to the new set of carbon brushes you have. Check that the dimensions and shape of the new brushes match the old ones. This ensures compatibility and proper fit within the brush holders. If the brushes match, proceed to the next step. If not, double-check the user manual or contact the manufacturer for the correct replacement brushes.
Now that you have successfully removed the old brushes, it’s time to install the new ones.
Step 4: Install the new carbon brushes
Take one of the new carbon brushes and align it with the compartment in one of the brush holders. Gently insert the brush into the holder and make sure it fits securely. Repeat the process with the second brush in the other brush holder. Ensure that both brushes are inserted fully and sit firmly in their respective compartments.
Once the new brushes are installed, double-check that they are positioned correctly and seated properly. They should be aligned straight within the brush holders, with the contact surface facing the motor’s armature. Any misalignment can result in poor electrical contact and inefficient operation of the drill.
Step 5: Reassemble the drill and test
With the new brushes in place, reassemble any cover plates or side panels that were removed to access the brush holders. Make sure all screws or clips are securely fastened to prevent any loose parts.
Once everything is reassembled, plug in your drill and give it a quick test. Turn on the drill and let it run for a few seconds to ensure that the new carbon brushes are making proper contact and that the motor is functioning smoothly. Listen for any abnormal sounds or vibrations that could indicate improper installation.
Step 6: Regular maintenance and replacement
Now that you have successfully replaced the carbon brushes in your electric drill, it’s important to establish a regular maintenance routine. Carbon brushes are subject to wear and tear over time, so it’s essential to monitor their condition regularly. Check the brushes periodically and replace them whenever signs of excessive wear, damage, or reduced performance are observed.
Additionally, keep your drill clean and free from dust and debris. Clean the brush holders and the surrounding area regularly to prevent any buildup that may affect the performance of the brushes and the motor. Refer to the user manual for specific cleaning instructions.
By following these steps and implementing regular maintenance practices, you can ensure that your electric drill remains in optimal condition and continues to be a reliable tool for all your drilling needs.
Additional Information
Prolonging the Life of Carbon Brushes in an Electric Drill
Proper maintenance and care can significantly extend the lifespan of the carbon brushes in your electric drill. Here are a few tips to help you keep your brushes in good condition:
- Keep the drill away from moisture and excessive heat, as these factors can contribute to premature brush wear.
- Do not overload the drill by using it for tasks beyond its capabilities. This can put excessive strain on the brushes and motor.
- Regularly clean the drill and the brush holders to prevent dust and debris buildup, which can affect brush performance.
- Handle the drill with care and avoid dropping or knocking it, as this can damage both the brushes and the motor.
- Replace the brushes as soon as you notice signs of wear, damage, or reduced performance. Delaying replacement can lead to further damage and additional repair costs.
The Importance of Using Genuine Replacement Brushes
When replacing the carbon brushes in your electric drill, it is crucial to use genuine replacement brushes recommended by the drill manufacturer. Genuine brushes are specifically designed for your drill model and are made with materials that ensure optimal performance and longevity. Using non-genuine or incompatible brushes can lead to poor performance, increased wear and tear on the brushes and motor, and potential safety hazards. Always refer to the user manual or consult the manufacturer to ensure you are using the correct replacement brushes.
Professional Assistance for Brush Replacement
If you are unsure about replacing the carbon brushes in your electric drill or if you encounter any difficulties during the process, it is recommended to seek professional assistance. Electric drills can vary in design and complexity, and attempting a repair without the necessary expertise can result in further damage. A professional technician can guide you through the process or perform the replacement on your behalf, ensuring that your drill is in proper working condition.
Frequently Asked Questions
Welcome to our FAQ section where we answer some commonly asked questions about replacing carbon brushes in an electric drill. Here, we will guide you through the process, ensuring you have a smooth and successful replacement. Read on to learn more!
1. How often should I replace the carbon brushes in my electric drill?
The frequency of carbon brush replacement varies depending on how often you use your electric drill and the intensity of the work. However, a general rule of thumb is to replace the carbon brushes once they have worn down to about 1/8 inch (3mm) in length. It’s important to check the brushes regularly to prevent any damage to the armature or motor of your drill.
To determine if your carbon brushes need replacement, you can visually inspect them. If the brushes are worn down significantly or if they have developed a curved shape, it’s time for a replacement. Additionally, if you notice decreased power or an unusual burning smell coming from your drill, it could be an indicator that the carbon brushes need to be replaced.
2. What tools do I need to replace the carbon brushes in my electric drill?
Replacing carbon brushes in an electric drill requires a few basic tools. First, you’ll need a screwdriver or a wrench to remove any screws holding the brush covers in place. Once you have access to the brushes, you might need needle-nose pliers to carefully remove the old brushes. Some drills may also require a small Allen wrench to remove the motor brush caps.
It’s also a good idea to have a clean cloth or compressed air to remove any debris or dust that may have accumulated near the brushes. And of course, make sure you have the replacement carbon brushes specifically designed for your electric drill model, as they can vary in size and shape.
3. Can I replace the carbon brushes myself, or should I seek professional help?
Replacing the carbon brushes in your electric drill is a task that can often be done by the drill owner, especially if you’re comfortable working with tools. With the right information and precautions, you can successfully replace the brushes yourself and save money.
However, if you’re unsure of your skills or if your drill is still under warranty, it’s advisable to seek professional help. This ensures that the replacement is done correctly and doesn’t void any warranty agreements. If you’re not confident in your abilities or if you have any concerns, consulting a professional technician or contacting the drill manufacturer’s customer support is always a good idea.
4. Are there any safety precautions I should take when replacing the carbon brushes?
Yes, safety should always be a top priority when working with power tools. Before you begin, make sure your electric drill is unplugged or the battery is removed to avoid any accidental starts. Additionally, wearing safety goggles and gloves is recommended to protect your eyes and hands from any debris or sharp edges.
When working on the drill, be gentle and avoid applying excessive force or pressure. This will help prevent any damage to other components. Lastly, if you’re unsure about anything or you encounter any difficulties during the process, it’s better to err on the side of caution and seek professional help.
5. Can I use any brand of carbon brushes for my electric drill?
It’s important to use carbon brushes that are specifically designed for your electric drill model. Different brands and models may have slight variations in size, shape, or material. Using the wrong carbon brushes can lead to poor performance, increased wear and tear, and even damage to the drill’s motor or other components.
When purchasing replacement carbon brushes, refer to your drill’s manual or consult the manufacturer’s website to ensure you’re getting the correct brushes for your specific drill model. This will help guarantee optimal performance and prolong the lifespan of your electric drill.
Replacing the carbon brushes in an electric drill is important for keeping it working well. First, make sure the drill is unplugged and the brushes are accessible. Then, remove the old brushes and replace them with new ones.
Remember to match the size and type of brushes to your specific drill model. Finally, test the drill to make sure it’s working properly. Following these steps will help extend the lifespan of your drill and keep it running smoothly.